Welcome to My Sweet Precision!
Here, you'll find a dessert blog that brings simple recipes for delicious desserts into your home kitchen.
Grab an apron, and let's bake!
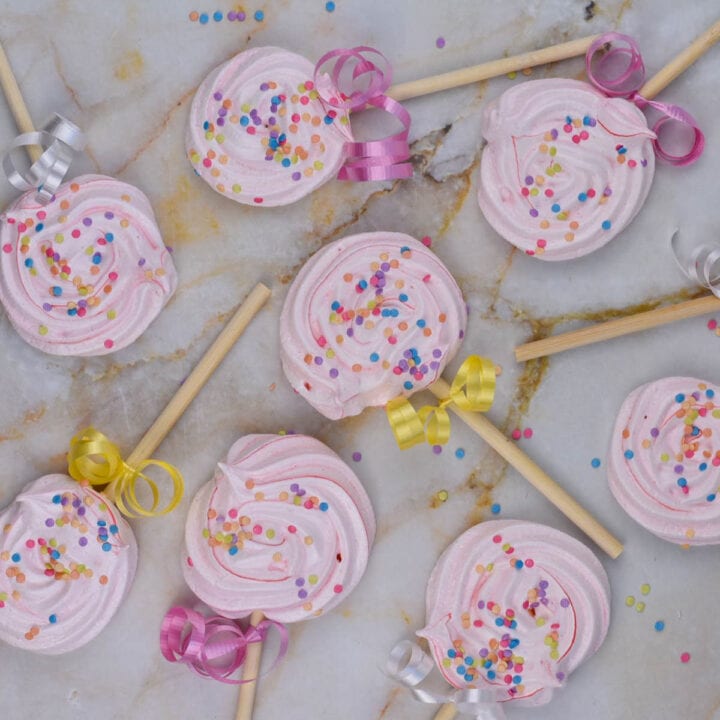
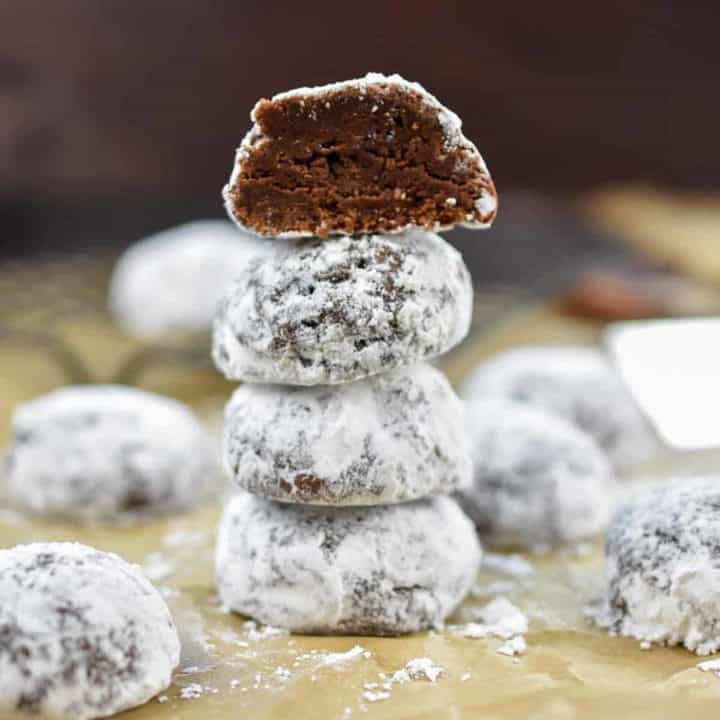
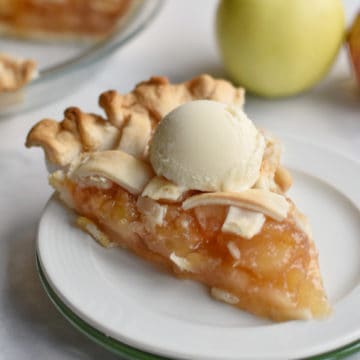
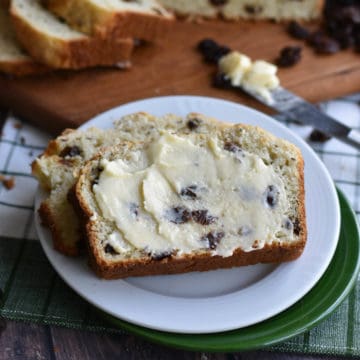
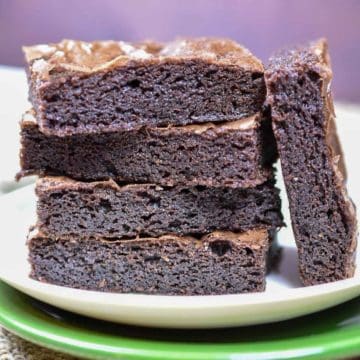
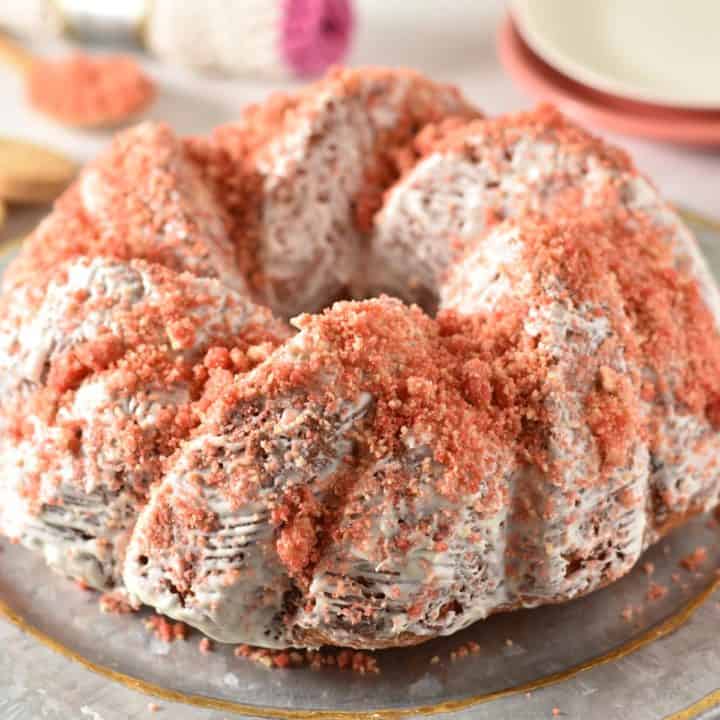
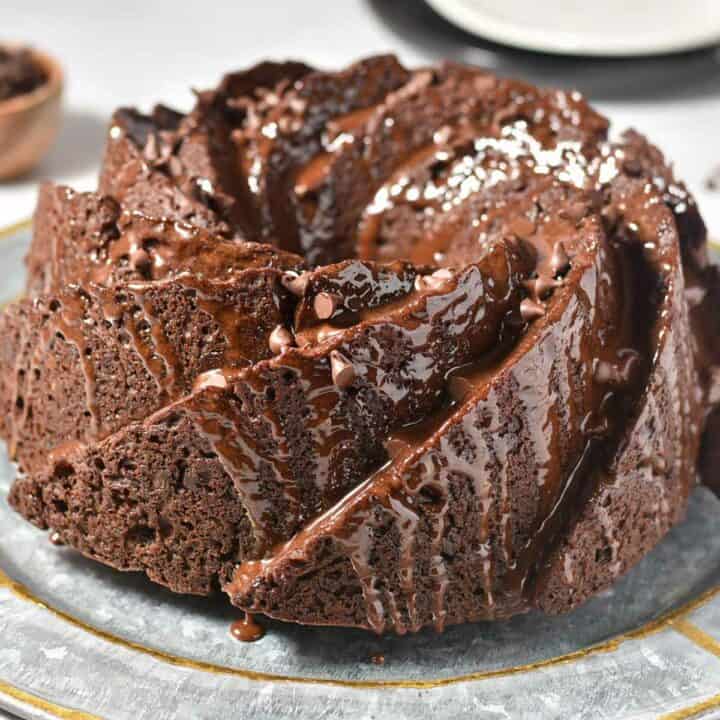
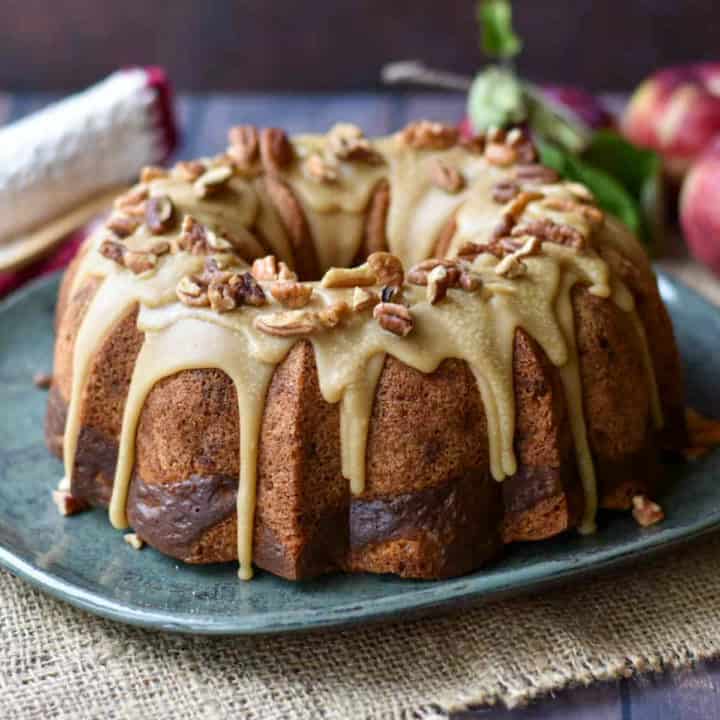
Trending Recipes
These are the most popular baked goods that My Sweet Precision readers are currently baking!

Hi, I'm Heather!
I am a wife and mother, baker, photographer, blogger, and cupcake lover. I've been baking from a young age. With my easy-to-follow recipe ideas, you can create delicious desserts in your home kitchen! Let's get started baking!
Party Perfect
Cake Recipes
Our cake recipes are perfect for a summer BBQ or a birthday party. Each recipe is tested and perfected!
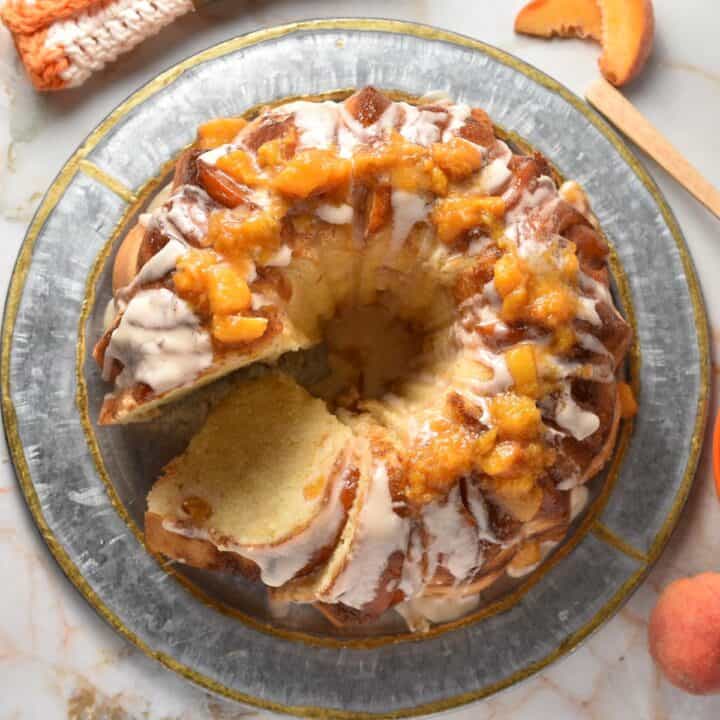
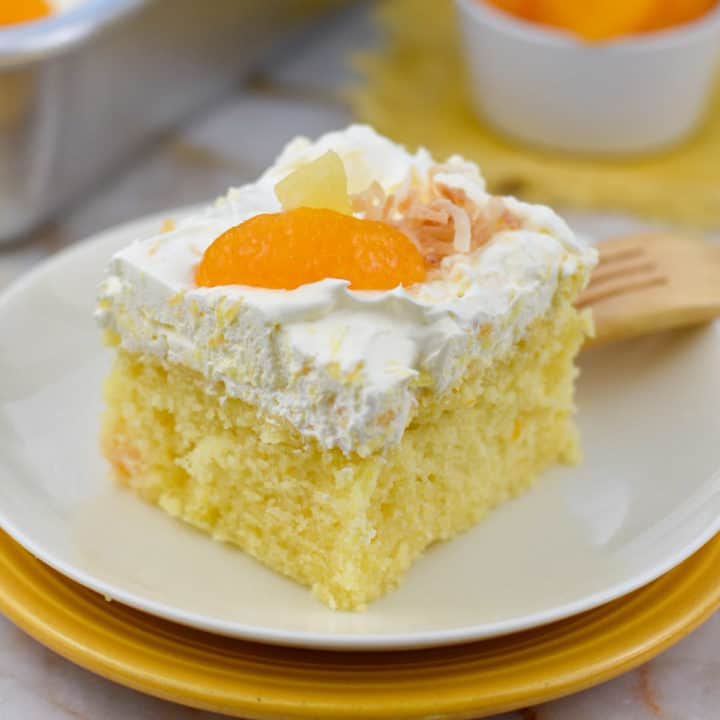
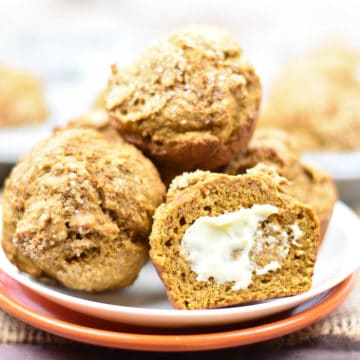
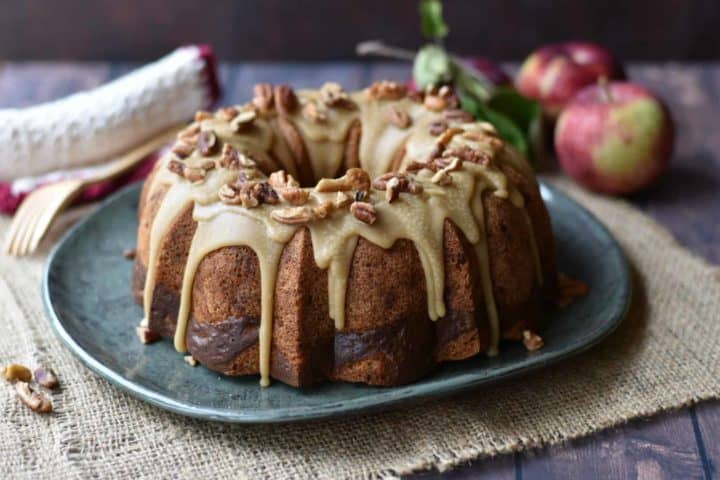
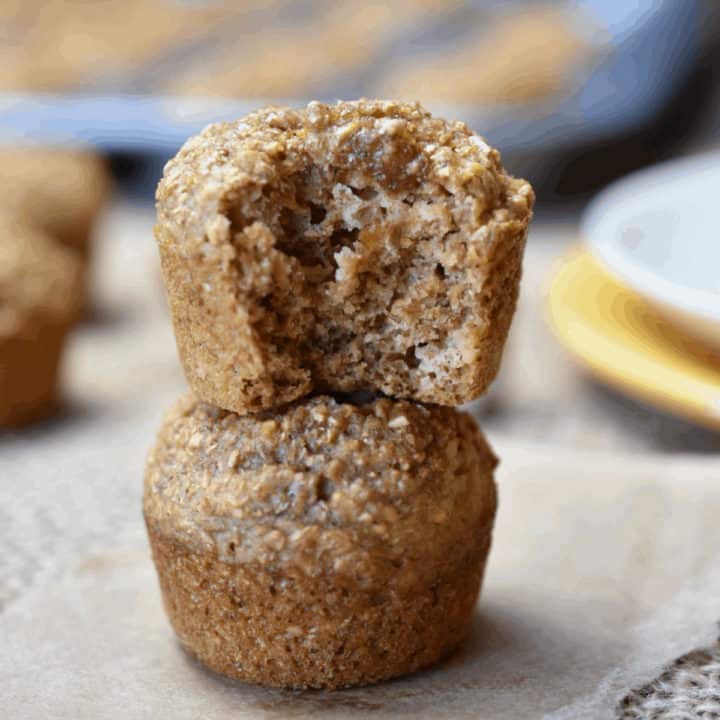
Recent Posts
Here's what we've recently been cooking up in the My Sweet Precision Kitchen! Give one of these seasonal recipes a try.
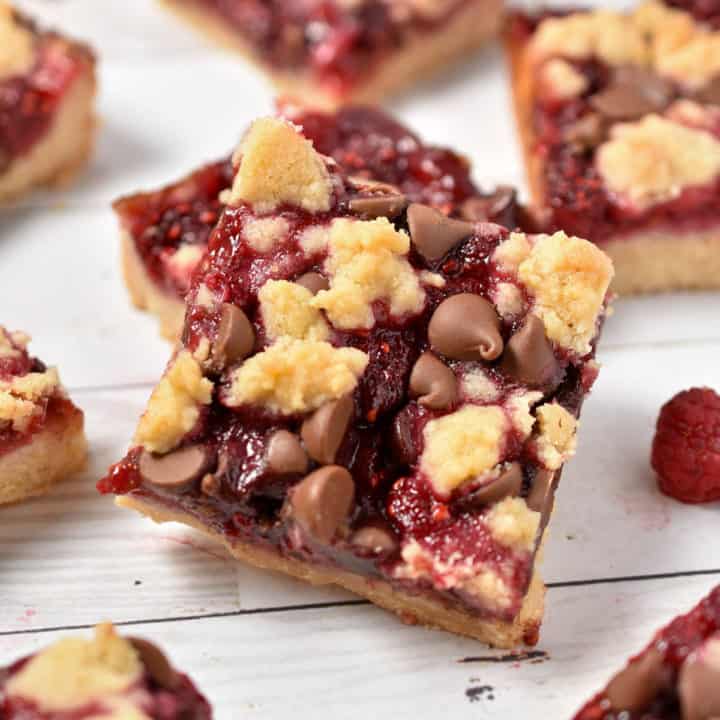
Featured Recipe
These delicious raspberry chocolate crumble bars are made of a moist, cinnamon-flavored crust, layered with a luscious raspberry filling, then sprinkled with chocolate chips and golden crumbs on top.
Reader Review
Absolutely amazing!! Incredible warm out of the oven and the next day when they're cold. I added a thin layer of raspberry jam to the crust before adding the raspberry layer....so good!
- Keri, March 2024
⭐⭐⭐⭐⭐
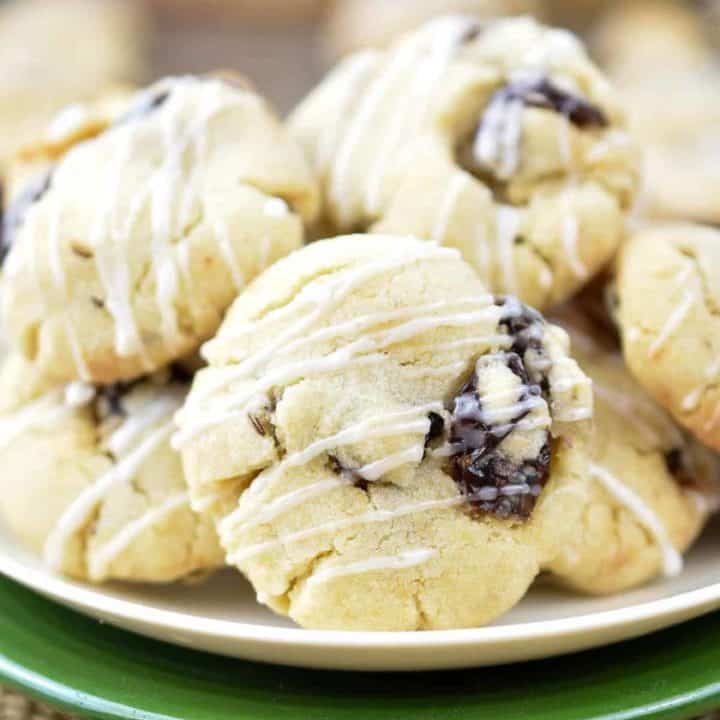
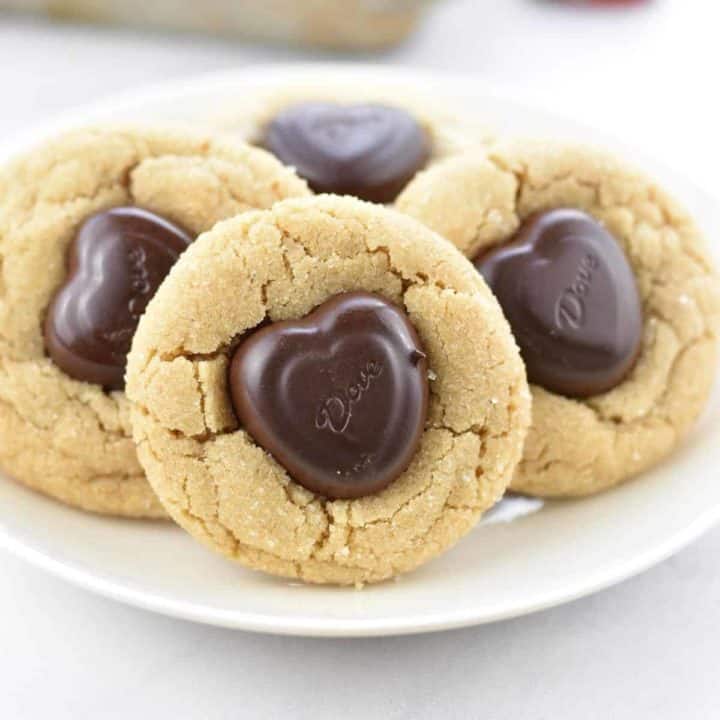
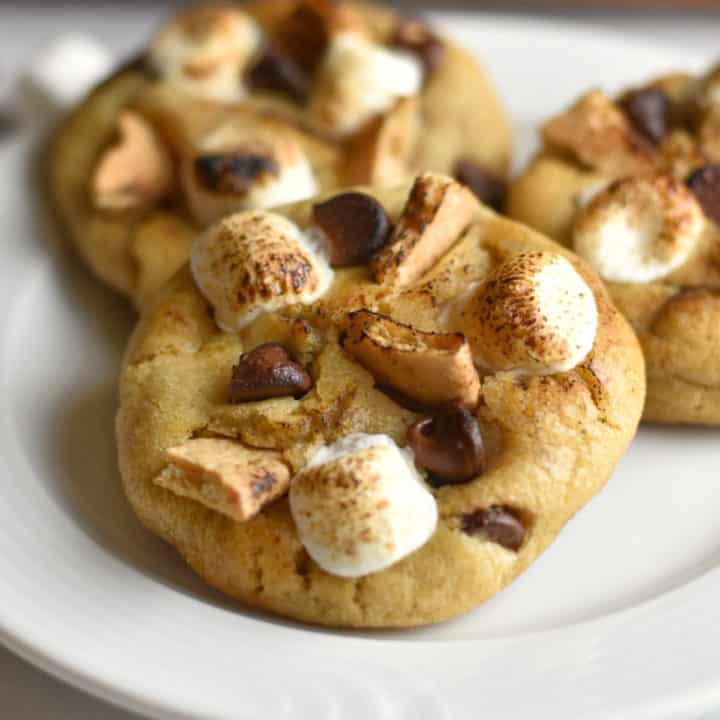
Cookie Recipes
Our cookie recipes are perfect for any occasion! These recipes are a simple and quick way to whip up something special in your kitchen.